Monday, July 15, 2013

Ubuntu 12.04 command line wireless config

http://ubuntuforums.org/showthread.php?t=1798927

Only fubar is that some package to supply and handle the wireless passkey is missing and has to be installed, not so easy w/o a net connection (or any other for that matter).  Might want to find the rpm's and be able to store them in a directory on an Ubuntu 12.0.4 boot device as a totally net free way to get it going.

Get Wireless WPA2 working with command line only

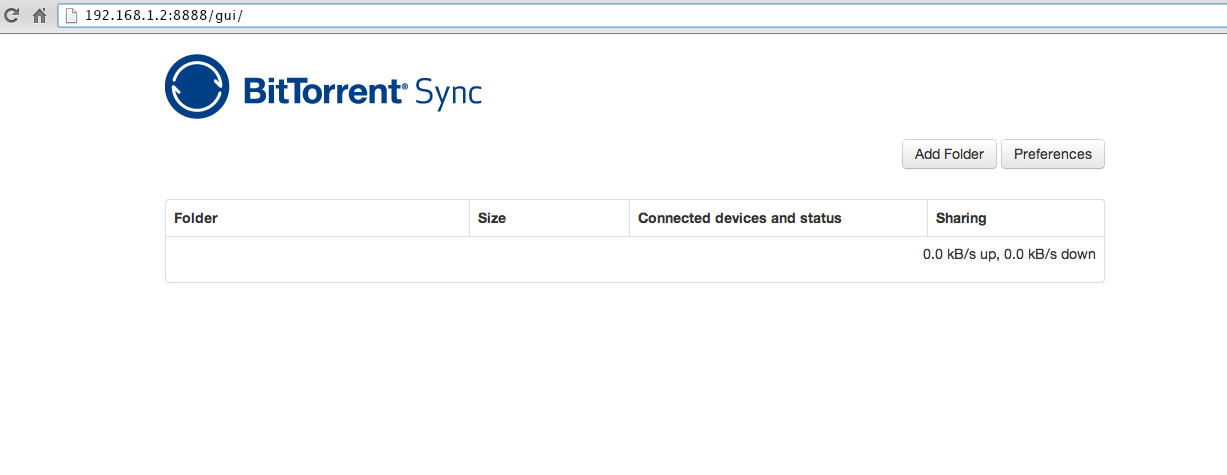
I wanted to run a little media server in my house, shared with my laptop only, so I could free up space on my laptop drive.

I took one of my Linux boxes out of my render farm and loaded up a minimal install, command line only of Ubuntu Lucid from the mini ISO (32 bit). I had to plug in a lan cable to install, but I wanted to move my box back out to the "farm" that doesn't have wired access to my intranet.

After much research, trial and error, this is what worked for me. My wireless card uses an Atheros AR5001X+ chip, and it works with the desktop cd out of the box. I found the "just works" desktop install uses the ath5k driver that is now included in Lucid, but I'm not using a desktop or window manager. I haven't tried this on server version, if you do, let others know what you had to install to get it to work.

The things I do tell you about, I instruct you as if you are a newbie, however I have left out some things that users should know or be able to lookup easily, like if you want a static address instead of using dhcp. You may not need all of the steps or you may have to do more research and troubleshooting.

Find your wireless card (you may need to lookup what to do if it is not recognized at all)

List all pci devices, only show network devices (-v verbose, -vv very verbose):
>>lspci –vv | grep Network

List all hardware (| less lets you pause at each page – arrow keys, page down/up to navigate, q to quit)
>>lshw | less

(If your modem is usb, learn about the lsusb command)

Check to see if network card is detected so you don't have to load a driver (where wlan0 is your card’s interface id found in previous step):
>>ifconfig wlan0

To load a driver, that is already on your system (my card was detected and the correct driver loaded from the kernel):
>>sudo modprobe drivername

If you forget to type sudo and get errors, then type:
>>sudo !!
which will execute the last command with sudo in front of it.

(you can learn about loading other drivers like broadcom bcm43xx at help.ubuntu.com)

List your wireless card’s device id:
>>iwconfig

if the command is not found (not in mini.iso) then you will need to install the wireless tools:
>> sudo apt-get install wireless-tools

If your router uses WPA or WPA2 security then install wpa supplicant:
>> sudo apt-get install wpasupplicant

(my wireless will never connect if my lan cable is plugged in, so after installing you may need to unplug your network cable too)

Scan for networks:
>>sudo iwlist scanning

If no results for your interface then enable device (and rescan):

>>sudo ip link set wlan0 up

Add your network information to wpa supplicant configuration file (where santa is the name of the network you are trying to connect to and hohohohohoho is the password for that network) (all 3 commands):
>>sudo su

root>>wpa_passphrase santa hohohohohoho >> /etc/wpa_supplicant.conf

root>>exit

Edit the file you just created/appended:
>>sudo nano /etc/wpa_supplicant.conf
<Add to the top:>
Ctrl_interface=/var/run/wpa_supplicant

<although your wireless may work just fine now, mine kept timing out, so to make WPA2 connect faster, I added this inside network={} below ssid and above psk>
scan_ssid=1
proto=RSN
key_mgmt=WPA-PSK
pairwise=CCMP
group=CCMP

<CTRL-O> <ENTER> to save the changes to the file
<CTRL-X> to exit the editor

If you are using WPA instead of WPA2, look up the wpa_supplicant.conf examples and find what you need (WPA instead of RSN, TKIP instead of CCMP or both, etc.)

Run wpa_supplicant:
>>sudo wpa_supplicant –D wext –i wlan0 –c/etc/wpa_supplicant.conf

Should see WPA: Key negotiation completed… CTRL-EVENT-CONNECTED
<CTRL-C> (stops the process running in the foreground of the command line/terminal)

Run wpa_supplicant in the background (up arrow, right arrow to end, add –B):
>>sudo wpa_supplicant –D wext –i wlan0 –c/etc/wpa_supplicant.conf -B

Wait a bit, then check for connection (mine wouldn't connect on the second try, I had to reboot, enable my device, then go straight to running in the background):
>>ip addr

Should see wlan0:… inet 192.168…
if so ping your router (you will need to know its ip address):
>>ping 192.168.0.1 –c 4

Should see less than 100% packet loss

and/or ping the web:
>>ping google.com –c4

Network unreachable on internet? Do you have the correct gateway (your router number or isp gateway – all zeros indicates the default gateway)? Any of these commands should tell you:

>>sudo netstat –nr
>>sudo route
>>/sbin/route -n

If you still can't connect to the internet, but are connected to your lan, with all zeroes for your gateway, try (192.168.0.1 should be your router IP address or your internet provider's gateway - which they would have given you if needed):
>>sudo route add default gw 192.168.0.1 wlan0

Check for connection again, ping, etc. It should be working now.

Once you have it working, get your wireless connection to come up automatically on boot (auto brings up the interface, iface says it will get an ip assigned from the dhcp server):
>>sudo nano /etc/network/interfaces
<Add to the bottom:>

auto wlan0
iface wlan0 inet dhcp
pre-up wpa_supplicant –Dwext –iwlan0 –c/etc/wpa_supplicant.conf –B
post-down killall –q wpa_supplicant

<CTRL-O> <ENTER> to save the changes to the file
<CTRL-X> to exit the editor

Reboot:
>>sudo shutdown –r now

After you have logged in, check for an ip address:
>>ip addr

If you have no typos in your files, you should now have wireless internet access every time you boot up.
Last edited by marjiea1; July 7th, 2011 at 02:33 AM.

Thursday, July 11, 2013

Bit torrent sync

This is a setup which uses bit torrent for syncing instead of rsync.  rsync requires a special access to the rsync demon to do network syncing.  Bit torrent protocol uses a more common method to sync.

http://blog.bittorrent.com/2013/05/23/how-i-created-my-own-personal-cloud-using-bittorrent-sync-owncloud-and-raspberry-pi/

Here is the basics of the setup from above.  Assumes a pi with raspbian installed.

Step 2: Installing BitTorrent Sync

Make sure you have an ethernet cable plugged in to your RasPi, and fire up lxterminal (there is a shortcut on the desktop). We’ll need to download the binary for Sync. To do this, type in:
wget "http://btsync.s3-website-us-east-1.amazonaws.com/btsync_arm.tar.gz"
Then change the download directory:
cd /home/pi
extract the tar.gz:
tar -zxvf btsync_arm.tar.gz
And finally, run the program:
./btsync
Now, we want to make sure Sync will run at startup. This requires an extra step. In terminal, change your directory to the config folder:
cd ~/.config/
Create a new folder called “autostart”
mkdir autostart
Now create a new text document. You can use the leafpad program that comes pre-installed. The contents of the text document need to be as follows:
[Desktop Entry]

Type=Application

Exec=/home/pi/btsync
Save this file in the newly created ~/.config/autostart as: syncstart.desktop
Sync is now up and running on your tiny Raspberry Pi. You can access the web GUI by opening a browser and typing in [YOUR IP ADDRESS]:8888/gui. For example: 192.168.1.2:8888/gui. You can find the IP address for your RasPi by opening terminal and typing in: ifconfig
sync-SS
At this point, you can stop right here. If your SD card is big enough, you can set up Sync and have your always-on Sync device….but why stop there? Lets add a thumb drive so that we can have more space.

Step 3: Adding a thumb drive

As mentioned, you have plenty of options for adding hard drive space to your Raspberry Pi. If you want to, you can plug in an external hard drive and go crazy. For this blog post however, I’m just using a micro-sd thumb drive. I love how small it is.
Plug the thumb drive in to the Raspberry Pi. (if you are short on usb ports, I would suggest setting up remote desktop). Open up terminal and type in:
df -h
Find your thumb drive. Mine was at the bottom and was called /dev/sda1. Take note of the name. You’ll need it. Format your hard drive by doing the following (replace sda1 with the name of your drive):
sudo umount /dev/sda1
sudo mkfs.ext4 /dev/sda1 -L SYNC
If you aren’t interested in Owncloud, then you can stop here and simply set up Sync to point to /media/SYNC. If you are interested in Owncloud, then keep reading.

step 4: Setting up Owncloud

Setting up Owncloud on linux is a mess of various terminal commands. Thankfully, Github user Petrockblog has made it very simple. He created a shell script for installing and updating Owncloud. Simply do the following:
Install Github:
sudo apt-get update
sudo apt-get install -y git dialog
Download the latest setup script:
cd
git clone git://github.com/petrockblog/OwncloudPie.git
And execute the script:
cd OwncloudPie
chmod +x owncloudpie_setup.sh
sudo ./owncloudpie_setup.sh
…and wait. This will take a while. Grab a coffee. Watch this video. When it is done, you can navigate to [Your IP Address]/owncloud to set everything up. It is very important that you click on “advanced” and set your data folder to /media/SYNC before finishing setup.
owncloud

Step 5: Combining BitTorrent Sync and Owncloud

First we need to clear up a few file permissions. Add sync to the www-data group:
sudo usermod -a -G www-data sync
Allow sync to write to the thumb drive:
sudo chmod -R 770 /media/SYNC 
Now open up the BitTorrent Sync WebUI (YourIpAddress:8888/gui) and add a folder. You’ll want to add: /media/SYNC/USERNAME/files where “username” is the name you selected when setting up Owncloud. Generate a key and you are done. You can now use that key to set up a folder on any computer you want. Any files added to that folder will be synced to your RasPi and be available through the Owncloud web interface. While this is pretty cool, there’s just one more little step to make this much more useful.

Step 6: Set up Owncloud to be accessed from anywhere (including mobile phones)

To access our files from anywhere, we’ll need to first set up a static IP address. If you used the wifi dongle I recommended, you can simply plug it in and it will work. Open terminal and type in:
sudo nano /etc/network/interfaces
You’ll need to make a few changes in order to get a static IP address. Below is what I ended up using after a bit of trial and error. Your address, gateway, net mask, SSID, and PSK will need to be changed according to your network. The settings may be different if you used a different wireless adaptor, or if you are only using an ethernet cable.
auto lo
iface lo inet loopback

iface eth0 inet static
        address 192.168.1.20
        gateway 192.168.1.1
        netmask 255.255.255.0

auto wlan0
#allow-hotplug wlan0
iface wlan0 inet static
        address 192.168.1.22
        gateway 192.168.1.1
        netmask 255.255.255.0
        wpa-ssid "YOUR SSID"
        wpa-psk "YOUR PSK"
#wpa-roam /etc/wpa_supplicant/wpa_supplicant.conf
iface default inet dhcp
Finally, you’ll need to forward a port so that owncloud can be accessed from outside networks. I just forwarded port 80 for the IP address of my RasPi. In this example, my IP address when using wifi is 192.168.1.22. The procedure for forwarding ports is different for every router. If I grab my real IP address from a site such as this one, I can now access Owncloud and my Sync files from anywhere by going to [MyRealIpAddress]/owncloud (where the IP address is what you find from the website I linked to). You can also set up Owncloud with an Android or iOS client for mobile access.
owncloud2